Add overlays, timers and effects
Draw timers, titles, charts, callouts, confetti or your own HTML and CSS over the video. Ask DemoTake AI for an effect in plain words, or pick a template. Every overlay renders frame-exactly and exports with every format.
An overlay is an effects layer drawn over the video: a study-with-me timer in the corner, a lower third with your name, a bar chart that builds in during a scene, confetti when the report is published. Overlays are edits like any other: they never touch the recording, Undo removes them, and they export in 16:9, 9:16, 1:1, GIF, screenshots and guides.
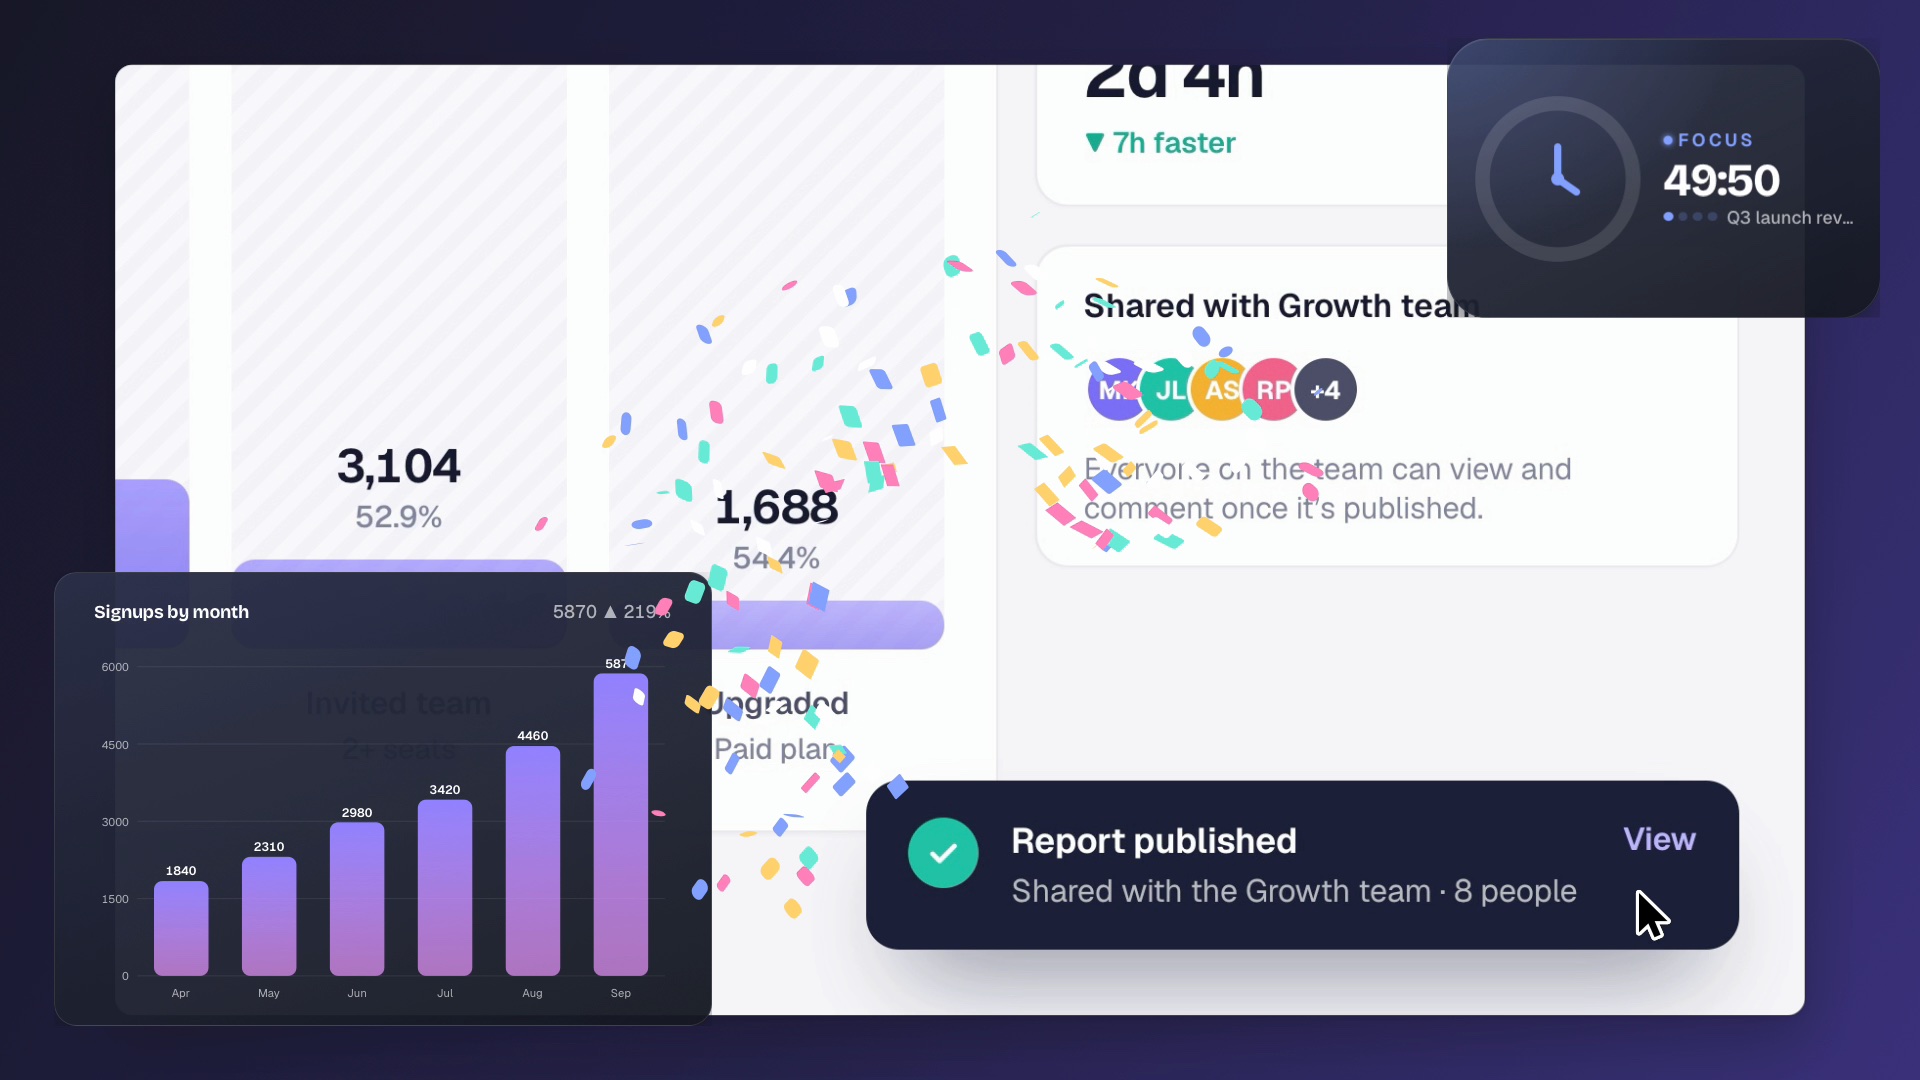
Open the Overlays tab in the inspector and type what you want: add a study-with-me pomodoro timer, 50/10, top right. Or pick a template from the gallery.
Drag it on the stage and resize it from the corner. Choose when it shows: the whole video, a scene, a time range, or the moment of an event.
Overlays render into every format, exactly on the frame. A timer shows 24:59 on the right second, however long the video.
Ask for it in words
Type into the Overlays tab's field or the command bar. DemoTake picks a template and its settings, or designs a custom effect, then checks it renders before adding it.
| You say | You get |
|---|---|
| add a study-with-me pomodoro timer, 50/10, top right | The study timer: 50-minute focus, 10-minute breaks, in the top-right corner. |
| overlay a bar chart of signups by month during scene 3 | An animated bar chart for scene 3 (sample values until you enter yours). |
| confetti when the report is published | A confetti burst at the "Report published" moment. |
| make a glowing lower third with my name "Maya Kerr" | A lower third in the glow style. |
| add a neon border that pulses | A custom HTML/CSS effect written for you. |
Custom designs use DemoTake AI (set it up in Settings › AI). Templates also work offline.
Templates
| Template | What it shows | Main settings |
|---|---|---|
| Study timer | Pomodoro focus/break cycles, countdown or stopwatch, a progress ring or bar, the phase ("Focus", "Break"), sessions and a task label | Focus, Break, Long break, Cycles, Style (minimal, glass, bold), Task |
| Progress bar | Progress through the video, by time or by scene with scene titles | Progress by, Position |
| Lower third | Name and title strap with a build-in | Title, Subtitle, Style (clean, glow, bold) |
| Title | A big centered title with an eyebrow and a subtitle | Title, Subtitle, Backdrop |
| Callout | An arrow, a box, a ring or a numbered badge pointing at a spot | Kind, Point (drag it on the stage), Label |
| Animated chart | Bar, line or donut chart that draws in | Chart, Labels, Values, Unit |
| Number counter | A KPI that counts up, with a delta | Label, From, To, Format |
| Spotlight | Dims everything but a region | Region (drag it on the stage), Dim, Shape |
| Keyboard shortcut | Keycap chips that press in | Keys, Action |
| Confetti | A celebration burst, identical on every export | Pieces, Origin, Colors |
| End card | Closing call to action | Title, Button, URL |
Templates pick up the take's accent color. Each one has a settings form in the inspector; the gallery thumbnails are rendered live by the same engine as the export.
The study-with-me timer
The Study timer runs on video time, so it stays exact for hours: at 1:02:15 into a 25/5 video it shows the right session and the right second. Settings:
- Focus, Break, Long break (after the last cycle) and Cycles: "50/10 × 4" is 50, 10, 10 and 4.
- Counts: countdown (time left in the session) or stopwatch (time spent).
- Progress: a ring, a bar, or none. Style: minimal (just the digits), glass or bold.
- Start at begins partway into the schedule; Speed runs it faster than real time for time-lapses.
On a study-with-me Composition, the timer follows the composition's own schedule and replaces the built-in timer.
A timer only changes once a second, so DemoTake draws it once a second too. A 10-minute 1080p export with the timer takes about as long as one without it.
Custom HTML and CSS
Choose Custom HTML/CSS in the gallery, then Edit HTML/CSS. The editor shows a live frame and tells you what it removed.
- HTML and CSS only. Scripts, event handlers, iframes, forms, media and links are removed. So is anything loaded from the network: images must be
data:URLs, andurl()in CSS may only point at adata:image or an SVG reference likeurl(#glow). - Allowed: layout and text elements, inline SVG (gradients, filters, masks, clip paths), CSS gradients, filters,
mask,clip-path, transforms and@keyframesanimations. Fonts:var(--font-sans),var(--font-display)andvar(--font-mono). - Size with container units (
cqw,cqh,cqmin) so the layout adapts to 16:9, 9:16 and 1:1.--aspectholds the width divided by the height.
Time, variables and bindings
Nothing depends on the clock: DemoTake sets the time for every frame, so the same frame always renders the same pixels.
| Variable | Meaning |
|---|---|
--t |
Seconds since the overlay started |
--p |
Progress through the overlay, 0 to 1 |
--dur |
The overlay's length in seconds |
--scene, --scene-t, --scene-p |
The scene on screen, and time and progress through it |
--accent, --accent-2 |
The take's accent colors |
Every @keyframes animation is moved to the right moment on each frame, so animation-delay works as a timeline. To show values, bind text with data-bind:
<div class="badge">
  <span data-bind="timer.display:mm:ss"></span>
  <small data-bind="scene.title:upper"></small>
</div>
Keys: t, p, scene.title, scene.index, take.name, timer.display, timer.remaining, timer.elapsed, timer.phase, timer.session, counter.value, clock and param.<name>. Formats after the colon: mm:ss, hh:mm:ss, auto, HH:mm, 0,0, $0,0.00, 0.0%, upper. data-if="timer.phaseKey=break" shows an element only during breaks, and data-repeat="40" makes 40 copies with seeded random values (--r1 to --r4) for particles.
Placement and layers
- Full frame, Anchored (a corner or edge; keeps its shape when you switch between 16:9, 9:16 and 1:1) or Free (drag and resize on the stage).
- Layer: above everything (default), below the captions, or below the cursor.
- Keep redactions on top blurs redacted areas over the overlay too.
With agents
Coding agents add overlays over MCP with the same checks: overlay_templates, overlay_add, overlay_update, overlay_remove and overlay_preview, which returns the exact export frame as an image. See the MCP reference. Overlays are saved in demotake.json, so regenerated demos get them again (see Demo specs and CI).
3D scenes
3D scenes are overlays too: a spinning logo for the intro, 3D columns rising, snow, or the recording itself floating on a tilted screen while the camera dollies in.
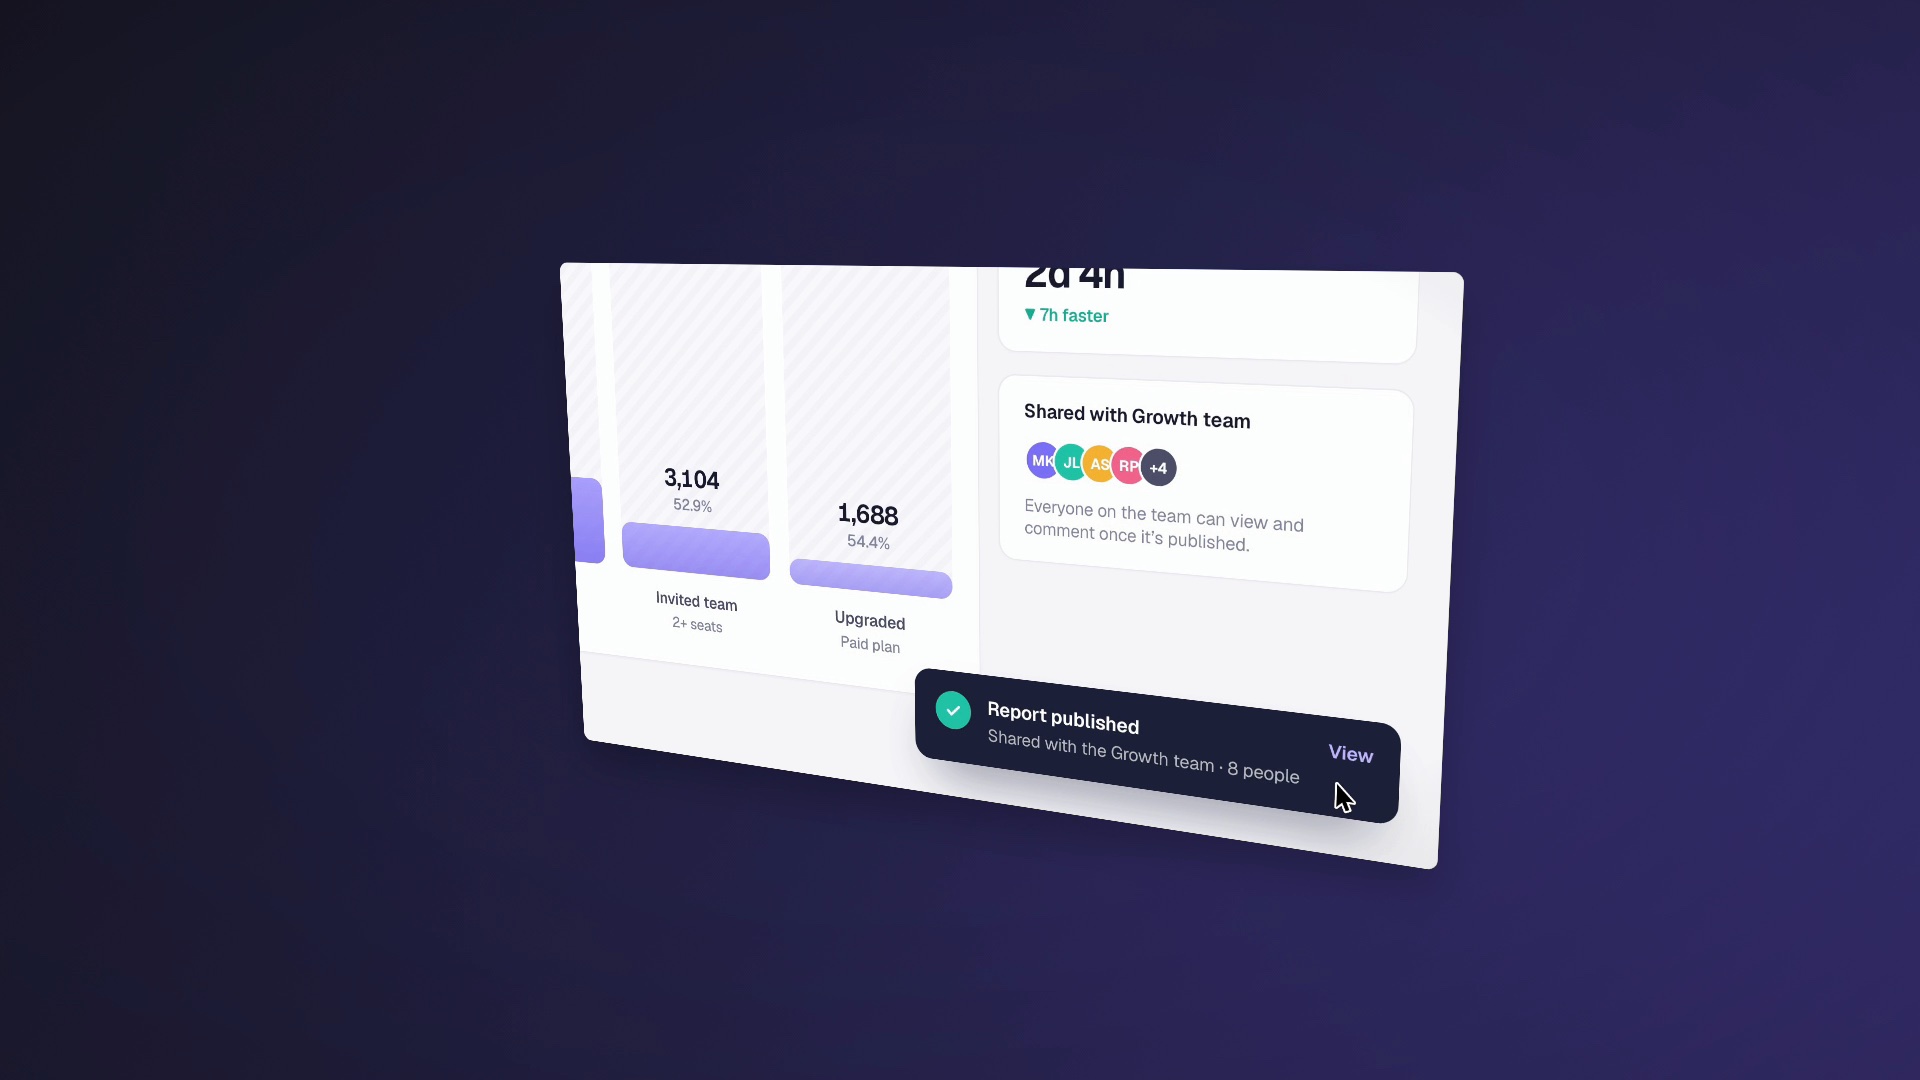
Ask for one (add a spinning 3D logo in the intro, make the recording float on a tilted screen and dolly in, make it snow) or pick one under 3D in the gallery. Select a 3D overlay to edit it:
- Objects: boxes, rounded boxes, spheres, cylinders, tori, planes, 3D text, particles, images and your own 3D models (
.glbfiles with embedded textures, up to 15 MB). Select one and drag the gizmo on the stage to move, rotate or scale it. - Add Keyframe at Playhead records the object's position, rotation and scale at that moment; a move at another time adds another keyframe.
- Camera: Orbit, Dolly and Push in add a camera move from the playhead. Light picks a studio, sunset or night look.
- Replace the frame shows the take's background behind the scene instead of the video, for floating screens.
3D scenes are data, not code: DemoTake's own engine draws them, frame by frame, so exports are exact and repeatable. Agents use scene3d_create, scene3d_add_object, scene3d_update, scene3d_animate, scene3d_preview and scene3d_remove.
3D needs graphics acceleration. On a machine without it, DemoTake tells you which overlays can't be drawn instead of leaving them out.